Many homeowners focus on choosing the perfect paint color, but the real secret to a long-lasting, professional-quality paint job lies in the preparation. Proper prep work ensures that paint adheres correctly, looks smooth, and stands the test of time. Skipping steps like surface cleaning, patching imperfections, or priming can lead to peeling, uneven coverage, and a finish that doesn’t last. In this blog, we’ll break down the essential steps of paint prep and why they’re critical to achieving a flawless result.
Before applying a single drop of paint, it’s crucial to clean the surface thoroughly. Dust, dirt, grease, and mildew can prevent paint from adhering properly, leading to streaks or peeling. For interior walls, a simple wipe-down with a damp cloth and mild soap is often enough. Kitchens and bathrooms, where grease and moisture build up, may require a stronger degreaser. For exteriors, pressure washing is an effective way to remove dirt and mildew, ensuring a smooth and long-lasting finish.
Even the highest-quality paint won’t hide cracks, dents, or holes. Taking the time to repair these imperfections makes a big difference in the final result. Small holes from nails or screws should be filled with spackle, while larger cracks may require joint compound or caulk. Once patched, sanding the surface smooth is essential for achieving an even coat of paint. This extra step prevents unsightly bumps or rough textures from showing through the final layer.
Sanding is a crucial part of the prep process that helps create a smooth surface for the paint to grip. Whether it’s smoothing out patchwork, rough drywall, or glossy finishes, a light sanding ensures better paint adhesion. In exterior painting, sanding removes old, flaking paint and provides a clean surface for the new coat to bond properly.
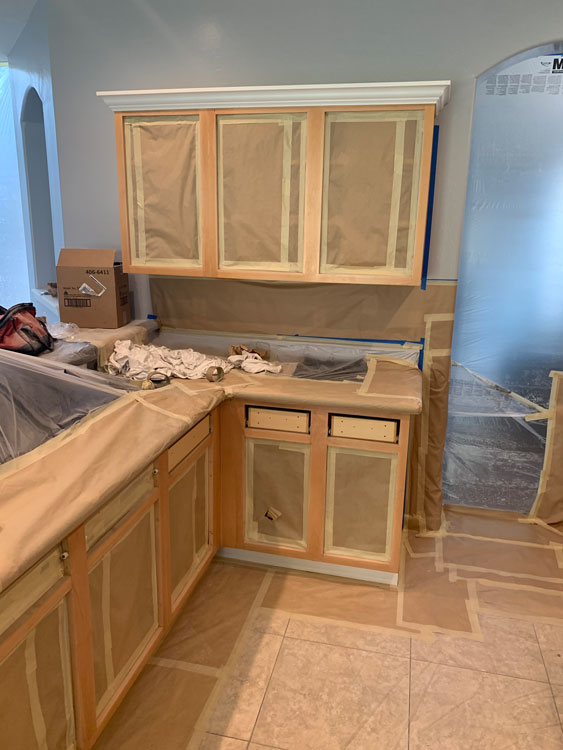
A professional-looking paint job isn’t just about the walls—it’s about the clean, crisp edges that make a space look polished. Using painter’s tape to mask off trim, ceilings, and baseboards prevents unwanted smudges and ensures straight lines. Drop cloths and plastic sheeting also protect floors, furniture, and fixtures from accidental drips or spills, keeping the workspace clean and stress-free.
Many homeowners wonder if priming is necessary, and the answer is almost always yes. Primer acts as a base layer that helps paint adhere evenly and provides a uniform color. It’s especially important when painting over dark colors, bare drywall, or surfaces with stains. Using a high-quality primer not only enhances durability but also reduces the number of coats needed for full coverage, saving time and paint.
Before opening the paint can, taking a final look at the prepped surface is essential. Are there any missed spots that need sanding? Are all holes properly patched? Are the edges neatly taped? A thorough inspection ensures that the painting process goes smoothly and that the finished result looks flawless.
Skipping prep work might seem like a time-saver, but it often leads to disappointing results and the need for frequent touch-ups. Taking the time to clean, repair, sand, tape, and prime makes all the difference in achieving a high-quality, professional-looking paint job. Whether tackling a DIY project or hiring professionals, proper prep work is the foundation of a stunning, long-lasting finish.
Need expert painters who never cut corners on prep work? Contact The Painters Custom Finishes today for a consultation, and let us help you achieve a flawless, professional-grade paint job.